Chocolate truffles are the definition of indulgence—rich, velvety, and irresistibly smooth. Whether gifted in a luxurious box or served on a delicate tray after dinner, they have an elegant charm that belies their simple ingredients. The good news? You don’t have to be a chocolatier to make them at home.
In this article, you’ll learn everything you need to know to make perfect chocolate truffles—from essential techniques to secret tips that guarantee silky, melt-in-your-mouth results.
What Are Chocolate Truffles?
Named after the rare mushroom they resemble in appearance, chocolate truffles are bite-sized confections made from a ganache center coated in cocoa powder, nuts, or melted chocolate. Traditional ganache consists of chocolate and cream, but variations include butter, liqueurs, spices, and other flavorings.
Basic Ingredients:
- High-quality dark or semi-sweet chocolate
- Heavy cream
- Butter (optional, for extra richness)
- Flavorings (like vanilla, coffee, or liqueur)
1. Choose the Right Chocolate
The quality of your chocolate directly affects the taste and texture of your truffles. Choose a chocolate with at least 60% cocoa content for a rich, deep flavor.
Tips:
- Avoid chocolate chips, which contain stabilizers that prevent smooth melting.
- Use chocolate bars or couverture chocolate (used by professionals).
- Brands like Callebaut, Valrhona, or Lindt are excellent options.
2. The Importance of the Cream
Heavy cream is what turns chocolate into silky ganache. The ratio of cream to chocolate determines the texture.
Ideal ratio:
- 2:1 chocolate to cream for firm truffles.
- 1:1 for softer, creamier centers (best if you plan to coat in chocolate or keep refrigerated).
Always use heavy cream with at least 35% fat. Low-fat versions will affect the smoothness and richness.
3. How to Make Ganache the Right Way
The ganache is the heart of the truffle. Here’s how to make it properly:
Step-by-step:
- Chop the chocolate finely and place it in a heatproof bowl.
- In a saucepan, heat the cream until just before boiling (bubbles around the edge).
- Pour the hot cream over the chocolate, making sure it’s all covered.
- Let it sit for 1–2 minutes, then stir slowly with a spatula or whisk.
- Mix until smooth and glossy. Add butter or flavorings at this stage if desired.
Note: Don’t stir too vigorously or you’ll introduce air bubbles.
Optional Additions:
- 1–2 tablespoons of butter for smoother texture.
- 1 teaspoon of vanilla extract for enhanced flavor.
- Liquor options: rum, brandy, Grand Marnier, coffee liqueur—1 tablespoon is enough.
4. Cooling and Setting the Ganache
After preparing your ganache, you need to let it set before shaping it into truffles.
Best method:
- Cover the ganache with plastic wrap (touching the surface to prevent skin).
- Refrigerate for at least 2 hours, or until firm but scoopable.
If it becomes too hard, let it sit at room temperature for 10–15 minutes before working with it.
5. Shaping the Truffles
Once the ganache is set, it’s time to form the truffles. You don’t need special tools—just clean hands and a spoon or melon baller.
Instructions:
- Use a spoon or small scoop to portion out balls of ganache.
- Roll each piece between your hands to shape into smooth spheres.
- Place the rolled truffles onto a baking sheet lined with parchment paper.
Tip: Wear disposable gloves or lightly dust your hands with cocoa powder to reduce stickiness.
If the ganache softens too much while rolling, chill the balls again before coating.
6. Coating and Decorating
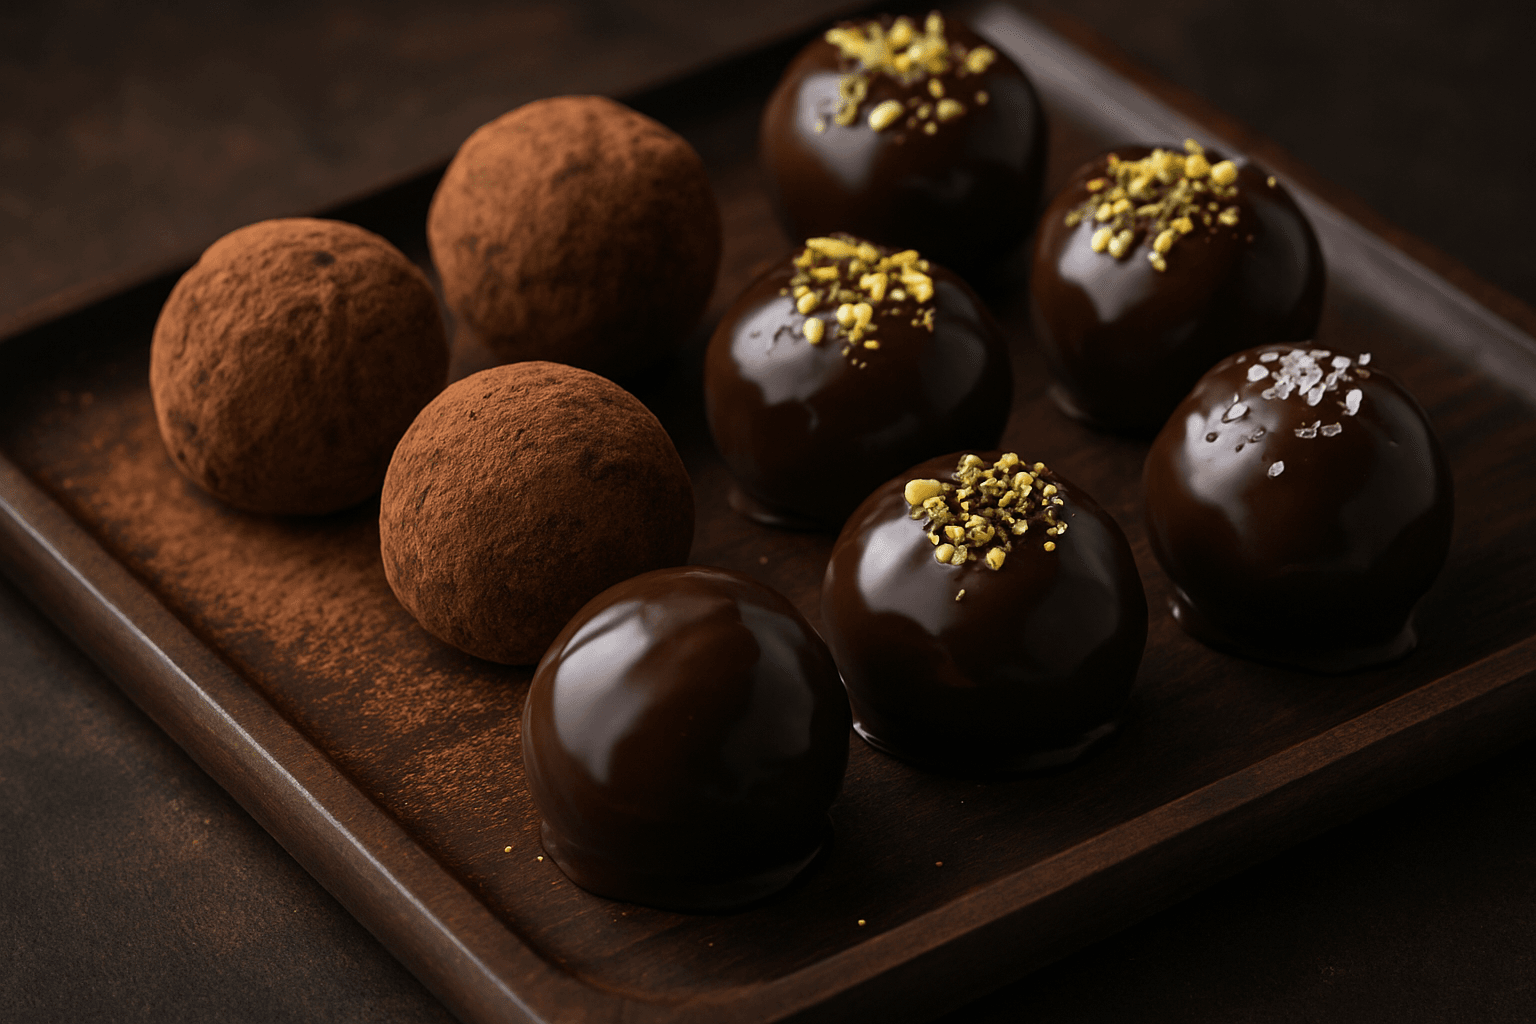
This is where your truffles get their final layer of personality. You can keep them rustic with a dusting of cocoa powder or elevate them with a chocolate shell and toppings.
Classic coatings:
- Unsweetened cocoa powder
- Finely chopped nuts (pistachios, almonds, hazelnuts)
- Shredded coconut
- Powdered sugar
For a glossy chocolate shell:
- Melt high-quality chocolate in a double boiler or microwave (in 20-second intervals).
- Let it cool slightly before dipping the truffle balls.
- Use a fork to dip and tap off excess chocolate.
- Place dipped truffles on parchment paper to set.
Optional toppings:
- Sprinkles
- Sea salt flakes
- Edible gold dust
- Crushed freeze-dried fruit
Let the coating set at room temperature or refrigerate briefly.
7. Flavor Variations
Once you master the basic recipe, the options are endless. Here are some popular variations:
- Mocha truffles: Add 1 teaspoon of instant espresso to the cream before heating.
- Orange truffles: Add orange zest and a splash of orange liqueur.
- Spiced truffles: Add a pinch of cinnamon, cayenne, or cardamom for warmth.
- Mint truffles: Use peppermint extract or steep fresh mint in the cream.
You can also infuse the cream with herbs, teas, or even chili for unique combinations.
8. Storage Tips
Chocolate truffles are best enjoyed fresh, but they do have a reasonable shelf life.
At room temperature:
- Store in a cool, dry place in an airtight container for up to 5 days.
In the refrigerator:
- Keep in an airtight container for 2 weeks.
- Let them sit at room temperature for 10 minutes before serving for the best texture.
Freezing:
- Freeze plain ganache or fully coated truffles for up to 2 months.
- Wrap well in plastic and store in a freezer-safe bag or container.
9. Common Mistakes to Avoid
Even simple recipes can go wrong. Here’s what to watch out for:
Overheating the cream:
If the cream boils, it may separate when mixed with chocolate. Heat it gently and remove from the stove before it bubbles over.
Poor-quality chocolate:
Low-quality chocolate can lead to grainy ganache and bland truffles. Always use the best you can afford.
Rushing the cooling:
Ganache that hasn’t set properly will be too soft to roll and coat.
Not sealing well:
Exposure to air dries out truffles quickly. Keep them covered and protected.
10. Serving and Presentation
Presentation makes all the difference, especially if you’re giving the truffles as a gift.
Ideas:
- Use mini paper candy cups for individual truffles.
- Arrange in a decorative box with dividers.
- Tie with a ribbon and include a handwritten label.
For parties, serve on a tiered tray or platter with a variety of flavors and textures for visual appeal.
Final Thoughts: The Art of Making Chocolate Truffles
There’s something magical about making chocolate truffles from scratch. The process is therapeutic, the ingredients are few, and the reward is sweet and luxurious.
Whether you’re preparing a special treat for yourself or a thoughtful gift for someone else, homemade truffles are always a crowd-pleaser. And now that you know the techniques and secrets behind them, there’s no reason not to indulge in a little chocolate mastery at home.
So go ahead—melt, mix, roll, and savor every step of the journey.