Pão de mel, or honey bread, is a beloved Brazilian treat that blends the warmth of spices, the sweetness of honey, and the richness of chocolate. Often served at parties, gifted in decorated packages, or enjoyed with coffee, pão de mel has a unique texture — soft, moist, and full of comforting flavors.
If you’ve ever wanted to recreate this classic dessert at home, this guide will walk you through a traditional and simple recipe, along with helpful tips, variations, and storage suggestions.
What Is Pão de Mel?
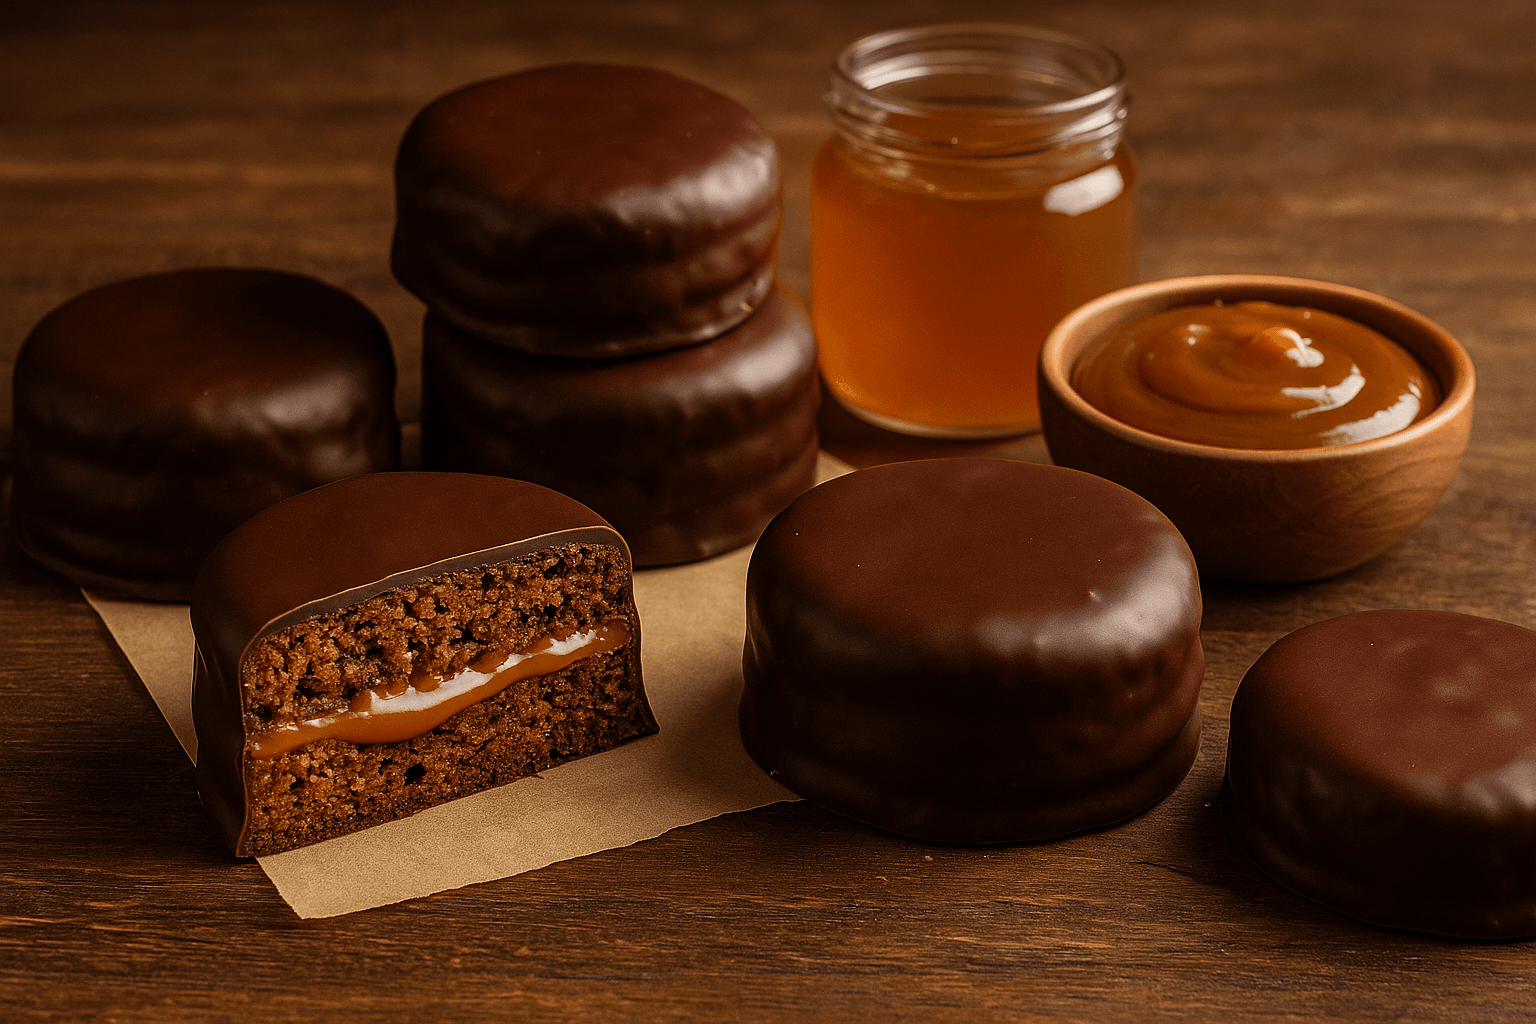
Pão de mel is a spiced honey cake typically made in small squares or rounds and covered in chocolate. It often includes warm spices like cinnamon, cloves, and nutmeg, and may be filled with dulce de leche (doce de leite) or jam.
It has a long shelf life and is perfect for celebrations, snacks, or homemade gifts.
Ingredients for Traditional Pão de Mel
Here’s what you’ll need to make a basic batch of pão de mel:
Dry Ingredients:
- 1 ½ cups (190g) all-purpose flour
- 1 cup (120g) whole wheat flour (optional, for a denser texture)
- 1 cup (200g) brown sugar
- 2 tsp cinnamon
- ½ tsp ground cloves
- ½ tsp nutmeg
- 1 tsp baking soda
- 1 tsp baking powder
- Pinch of salt
Wet Ingredients:
- 1 cup (240ml) milk
- ½ cup (120ml) honey
- ¼ cup (60ml) oil (vegetable or sunflower)
- 2 large eggs
- 1 tsp vanilla extract
Chocolate Coating:
- 300g (10 oz) semi-sweet chocolate, chopped or in chips
- 1 tsp coconut oil or butter (optional, for shine)
Step-by-Step Instructions
Step 1: Preheat and Prepare
Preheat your oven to 180°C (350°F). Grease a square or rectangular baking pan and line it with parchment paper, or use silicone molds if you want individual portions.
Step 2: Combine the Dry Ingredients
In a large bowl, sift together the flour(s), brown sugar, spices (cinnamon, cloves, nutmeg), baking soda, baking powder, and a pinch of salt. Mixing the dry ingredients first helps ensure even distribution of the flavors and leavening agents.
Step 3: Mix the Wet Ingredients
In another bowl, whisk the milk, honey, oil, eggs, and vanilla extract until smooth.
Step 4: Combine Everything
Slowly add the wet mixture into the dry ingredients. Use a whisk or hand mixer to mix until fully incorporated. The batter should be smooth but slightly thick.
Step 5: Bake
Pour the batter into your prepared pan or molds. Bake for 25–30 minutes, or until a toothpick inserted in the center comes out clean. The top should be slightly firm and springy.
Let it cool completely before removing from the pan.
Optional Filling: Dulce de Leche
While pão de mel is delicious on its own, a layer of dulce de leche (or other filling like fruit jam or brigadeiro) makes it even more special.
How to Fill:
- Once cooled, slice the cake horizontally and spread a thin layer of filling before reassembling and cutting into squares or rounds.
Step 6: Coat with Chocolate
Once your pão de mel pieces are cooled and filled (if desired), it’s time to coat them in chocolate.
Melting the Chocolate:
- Use a double boiler or microwave in 30-second intervals to melt the chocolate until smooth.
- Add a bit of coconut oil or butter for shine and smoother texture (optional).
Coating:
- Dip each piece into the melted chocolate using a fork.
- Let the excess drip off and place on a tray lined with parchment paper.
- Refrigerate for 15–20 minutes or until the coating is firm.
Variations and Customization
1. Different Fillings:
- Jam: Strawberry, apricot, or orange marmalade for a fruity contrast.
- Brigadeiro: Brazilian chocolate fudge adds indulgence.
- Ganache: Rich and creamy for chocolate lovers.
2. Chocolate Types:
- Use dark, milk, or white chocolate depending on your preference. White chocolate offers a beautiful contrast for decoration.
3. Toppings:
- After coating with chocolate, sprinkle with crushed nuts, coconut flakes, or edible glitter for a festive look.
Tips for the Perfect Pão de Mel
- Let the cake cool fully before slicing or coating to avoid crumbling.
- Use good-quality chocolate for the best flavor and texture.
- Refrigerate before wrapping if gifting or storing — this ensures the chocolate sets firmly.
- Store in an airtight container to maintain freshness.
Shelf Life and Storage
Pão de mel has a good shelf life, making it ideal for gifting or selling.
- At room temperature: Lasts up to 7 days if stored in a cool, dry place.
- In the fridge: Up to 2 weeks, wrapped or sealed.
- Freezing: You can freeze uncoated pão de mel for up to 3 months. Just thaw and coat before serving.
Great for Gifting or Selling
Because it’s long-lasting, beautiful, and crowd-pleasing, pão de mel is a fantastic product to give as gifts or sell during holidays and special events.
Selling Tips:
- Use clear packaging with ribbons or tags.
- Offer variety packs (different fillings or chocolate types).
- Label ingredients and include expiration dates.
Final Thoughts
Pão de mel is more than just a cake — it’s a piece of tradition, a symbol of care, and a delightful indulgence that brings people together. With its blend of warm spices, tender texture, and rich chocolate, it’s no surprise this treat is loved by so many.
By following this simple recipe, you can make pão de mel at home that tastes just like it came from a professional bakery — or even better! Whether you’re preparing it for a family gathering, festive celebration, or simply to enjoy with your afternoon coffee, this classic dessert is sure to be a hit.